

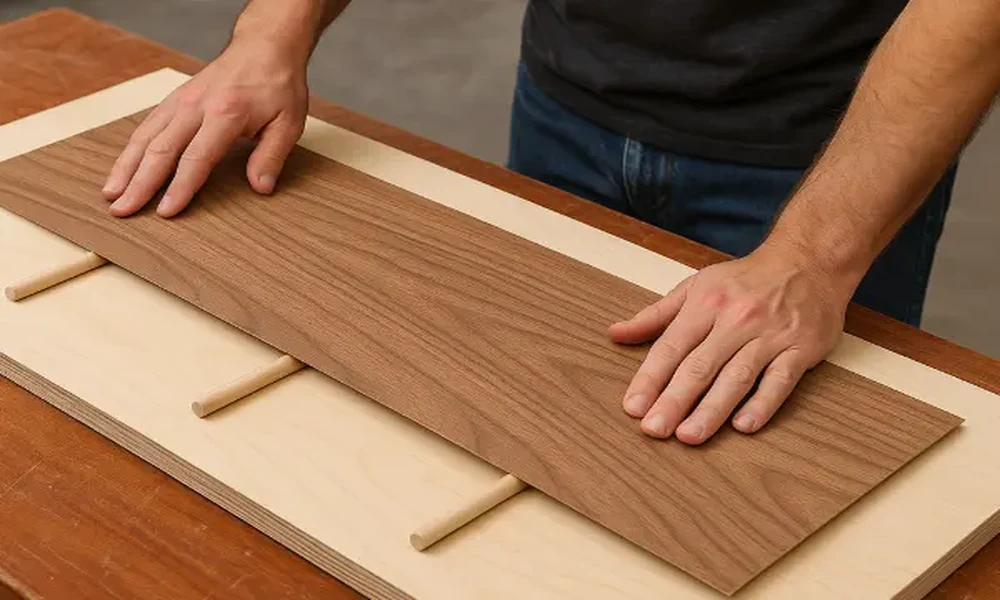
Large veneered panels can create a sophisticated and seamless look on surfaces such as doors, walls, furniture, and other pieces of furniture or interior surfaces. However, creating a seamless look is not as easy as it seems, as visible joints, mismatched grain patterns, and irregular edges may prevent you from getting the desired result. Proper preparation of the substrate, precise alignment of the sheets, choice of the proper adhesive, and proper techniques for applying veneer sheets are the key factors for making flawless veneer joints across the entire area.
Preparing the Substrate Before Applying Veneer
A proper substrate is the key to successful veneer application. A smooth, clean, and even substrate is required for veneer bonding. Dust, humidity, uneven areas, and imperfections must not prevent the veneer from bonding uniformly.
Before applying the panel, it should be checked and prepared for applying veneer and adhesive. If the substrate material is stable and properly conditioned, movement of the substrate once installed can also be reduced.
Selecting Grain and Positioning Sheets
Before the application of adhesive, it is critical to pre-arrange sticks and sheets to make them look continuous. The veneer sheets shop should be arranged according to their grain direction and visual aspects of design features. When it comes to joining veneer sheets, a mock-up layout can help assess the differences in colour, grain and pattern of the veneer before installation is carried out.
Using the Correct Veneer Joining Method
The edges of the adjacent veneer sheets must meet properly without too much overlapping or too many gaps, which is why good trimming is very important to use the correct veneer joint technique to establish correct joints and keep the designed pattern of the grain intact.
The sheets must be aligned precisely before applying pressure, as this will help the veneer joints perform correctly. A rushed process can lead to making uneven joints that can easily be revealed after finishing.
Applying Consistent Pressure
After positioning the veneer, the same pressure must be applied throughout its surface to make sure correct contact is achieved between it, the adhesive and the substrate. Otherwise, uneven pressure can lead to weak bond formation or improper surface level.
As for the seamless veneer application process, remember to spread adhesive in a uniform way according to the specifications and quality standards followed during manufacturing Proper curing conditions must also be maintained before the panel can undergo processing.
Finishing and Edge Joining Tips
Once the veneer is placed, it must be examined for gaps, raised edges, and alignment issues. Light sanding and finishing will allow the creation of a uniform look with no damage to the wood veneer surface.
When dealing with large panels, applying practical veneer edge-joining tips will improve performance significantly. For instance, taking precise measurements, using sharp cutting tools, matching the grain properly, and maintaining correct pressure are the basic tips in this area.
Conclusion
Achieving a seamless veneer joint in a large panel requires precision at each phase of the process. Proper substrate preparation, matching the grain, trimming the corners properly, applying the adhesive evenly, and pressure control will contribute to making the joints less visible.
